Captions make whiteboard videos reach a wider audience, and help to increase engagement. This passage talks about how to add caption to whiteboard videos in 3 ways.
Add Caption
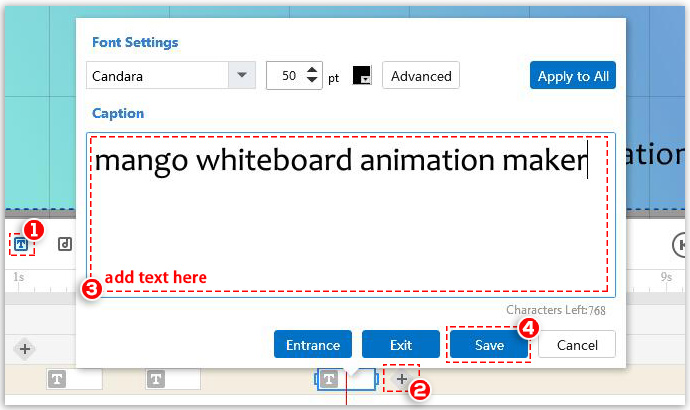
1) Click the “Caption” icon (Then the Caption Timeline will show below.) > Click “+” on the Caption Timeline > add text in the Caption zone > customize it if you want to > click “Save”
Add Multiple Captions
Right click anywhere on the Caption Timeline > click “Add Multiple Captions” > add text in the Caption zone > Click “Add”
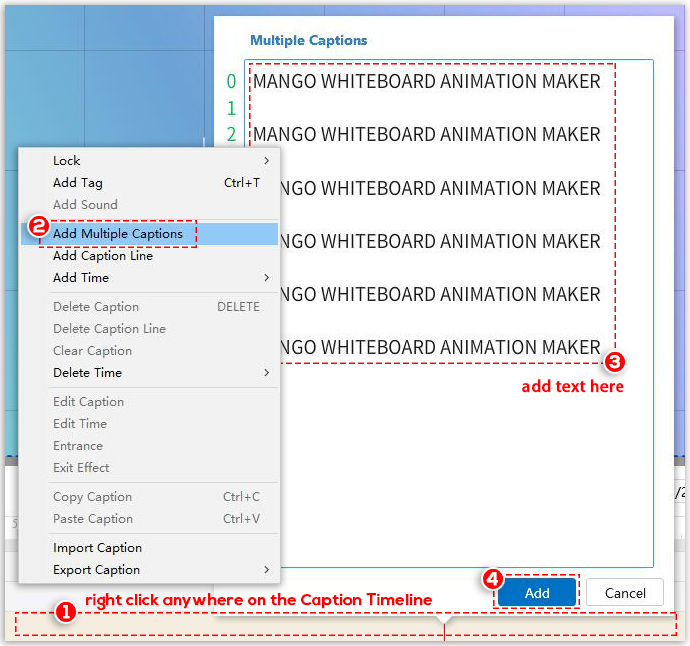
Then the Captions you added will show on the Caption Timeline, you can double click on them to customize.
Import Caption
Right click anywhere on the Caption Timeline > click “Import Caption” > choose a local file in the pop-up window (supported types: utf, srt, lrc, txt, zip.)
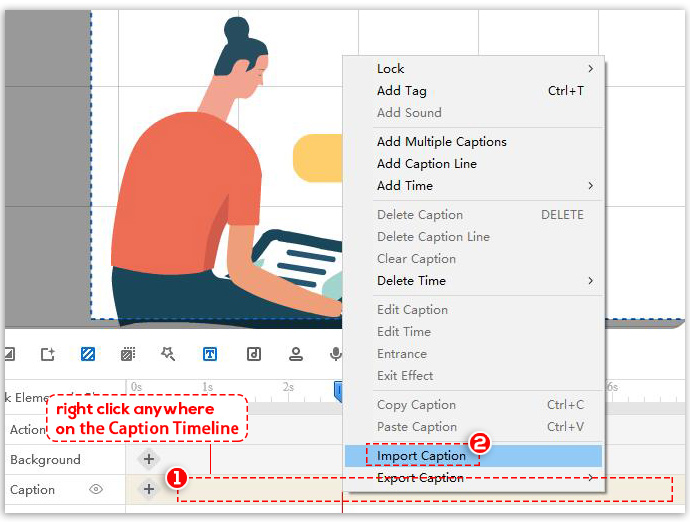
Then the Caption you imported will show on the Caption Timeline, you can double click on it to customize.
To customize your caption, you can
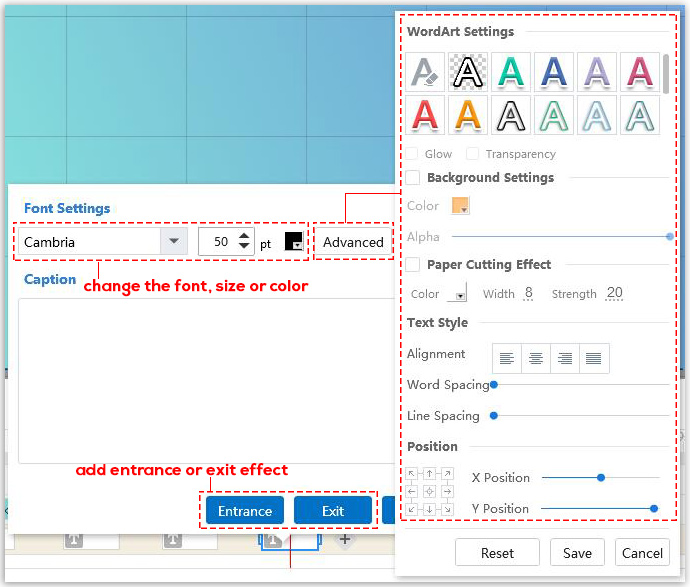
- Change the font, font size, font color
- Change the settings in “Advanced Option” (There are WordArt Settings, Background Settings, Paper cutting Effect, Text Style and Position.)
- Add entrance and exit effect to the caption
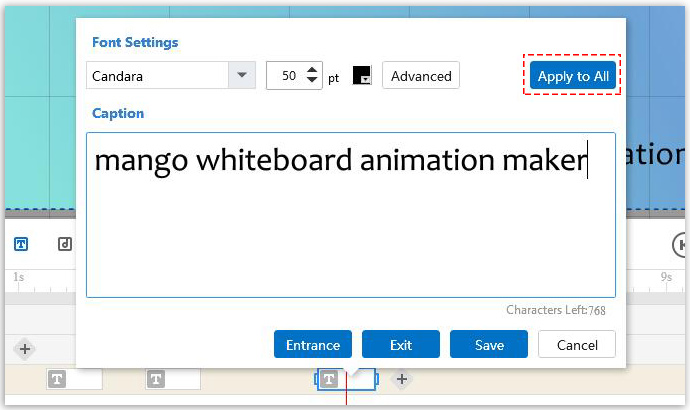
Note: If you want all the captions share the same custom style, you can click “Apply to All” when you finish customizing one caption.


