Camera is of great importance in creating an animated video. It helps achieve natural transitions and guides the viewer from scene to scene. Mango Animation Maker provides easy-to-use Camera tool to create several camera movements, such as zooming in/out, panning, resizing, and rotating the camera.
Add Camera
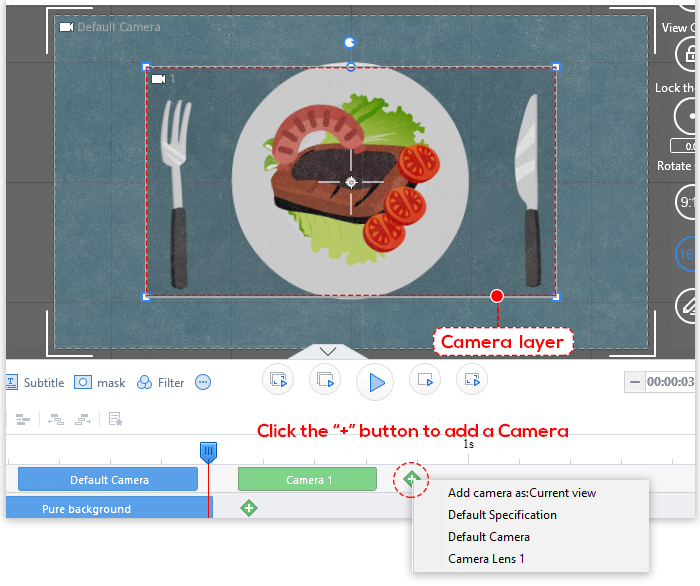
Click the “+” button on the Camera timeline to add new cameras. After adding a new Camera to the timeline, a corresponding Camera layer will appear on the canvas.
Moving the Camera
1. Click the Camera on the timeline. The Camera will become active and the camera controls will appear on the canvas.
2. Drag the Camera layer to the desired position.

Resizing the Camera
1. On the timeline, click the Camera you want to resize.
2. On the canvas, position your mouse pointer over any corner of the Camera layer. A double-headed arrow will appear.
3. Hold down the left mouse button and resize the Camera.
Changing the Duration
On the Camera timeline, drag the right or left edge of the block to change the duration.
Rotating the Camera
1. On the timeline, click the Camera you want to rotate.
2. On the canvas, hover the rotation handle, hold down the left mouse button and rotate the Camera layer.
Note: hover over any corner of the Camera layer and the rotation handle will appear.
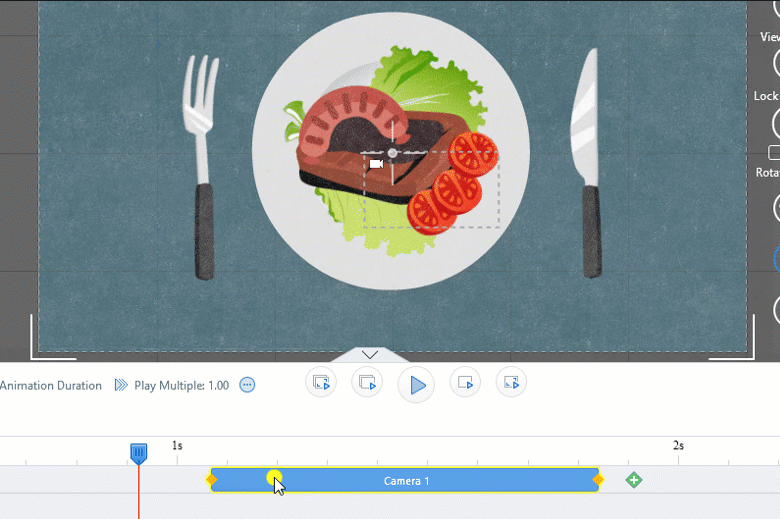
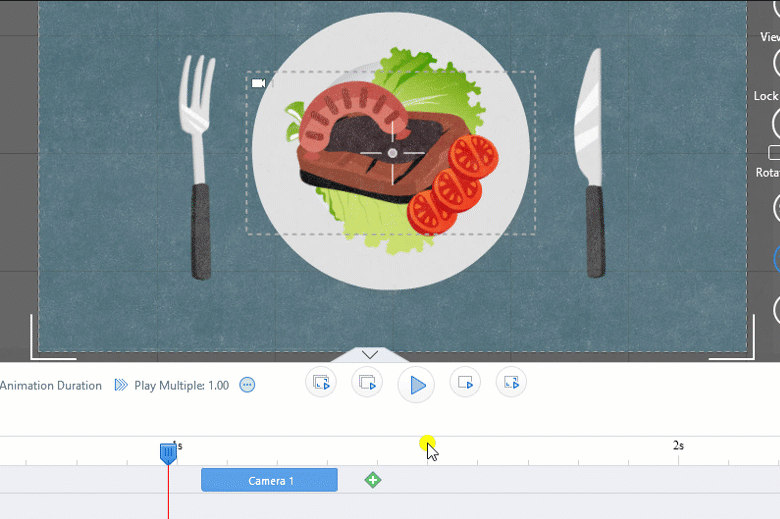
Zooming the Camera
1. Zoom in
You can add a Camera to zoom into a small part of the canvas. It’s super useful when you want to focus on or present the important content to the viewer.
To do so, you can add a new Camera, resize and place it to the desired location.
In the example below, the canvas shows a close-up of the text.
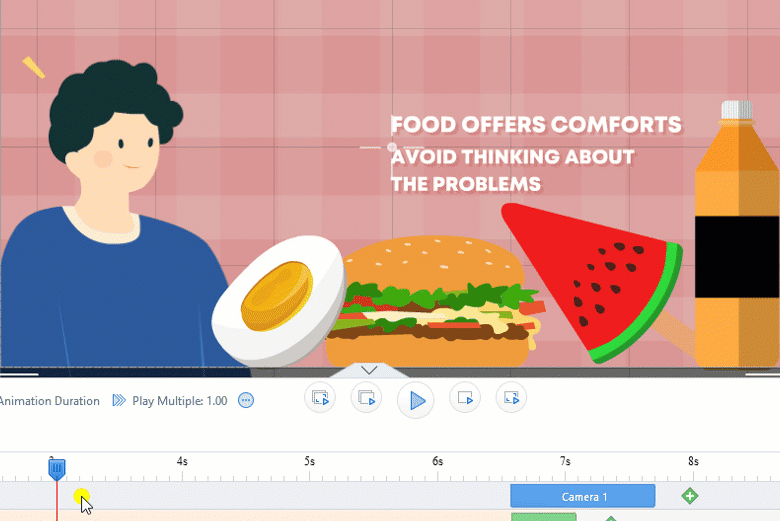
2. Zoom out
Zoom out for a wider view of the scene.
Take a look at the example below:
Tip: you can press the Ctrl key and scroll the mouse to zoom in/out the canvas.
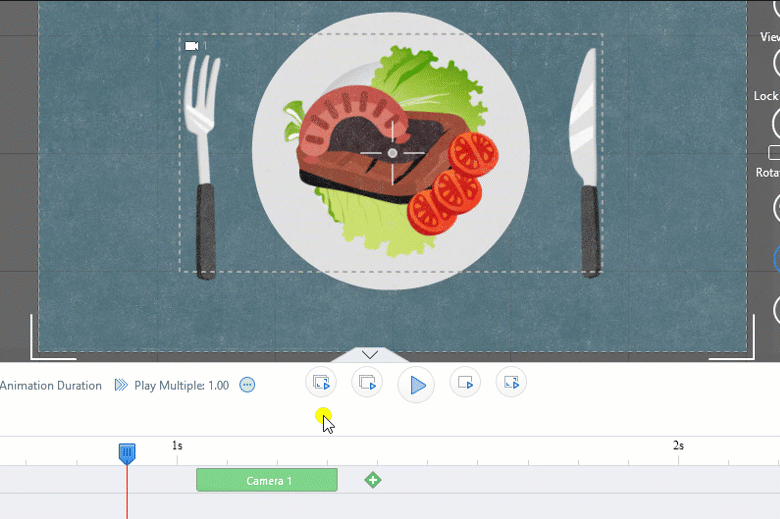
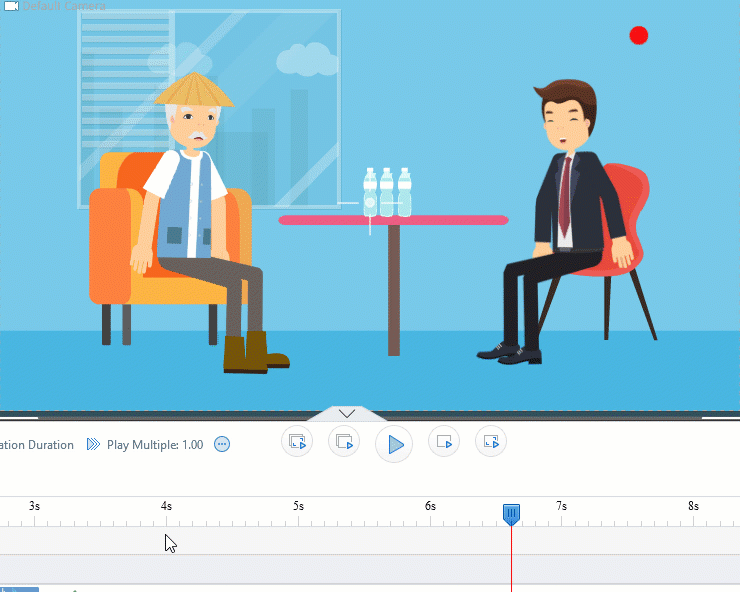
Panning the Camera
1. Click the Camera on the timeline. The Camera will become active and the camera controls will appear on the canvas.
2. Drag and move the Camera layer to pan horizontally or vertically.
Take a look at the example below: